Algy's English Muffins
← Recipes

inspired by King Arthur Baking
Ingredients
- 20g sugar
- 454g water, warm
- 1.5 tsp yeast (not required, but it improves the taste and texture and quickens the rise time)
- 227g sourdough discard
- 840g flour (I often do 300g-ish white whole wheat and the rest AP)
- 56g baker’s dry milk
- 57g butter, room temperature
- 18g salt
- cornmeal, for coating
Directions
- Combine all ingredients except the cornmeal in your mixer’s bowl. It’s possible to knead by hand, too, so I guess if you’re doing that just use any ole bowl.
- Mix/knead till the dough is smooth, soft, and elastic, but not particularly sticky.
- Leave the dough in the bowl, cover, and set aside to rise for about 1 1/2 hours, or until it’s noticeably puffy, OR put it in the fridge for 24-ish hours. Supposedly the fridge approach makes it taste better - I can’t tell you if this in particular made a difference! The fridge approach, to me, is just a convenience factor.
- When you’re ready to move forward and the dough is puffy, deflate it and turn it out onto a lightly floured work surface, cover, and let it sit for a few minutes. I take this time to prepare the below items and get out my rolling pin and biscuit cutter.
- Get a sheet pan, or cookie sheet, out and sprinkle all over with cornmeal. You may need two, depending on muffin size!
- Divide the dough in half.
- Working with one half at a time, sprinkle the top with some flour and roll 1/4” thick.
- Cut the muffins in whatever size you want and place each on the cornmeal lined pan spaced out from others about an inch. Having a cookie/biscuit cutter is very helpful - supposedly their cuts make the muffins rise better? IDK, I just used a cutter cause it’s easier. Throw the excess created by the cutting in a pile, we’ll get to that later.
- Repeat with the remaining half of dough, continuing to add each muffin to the cornmeal pan and put your spare cuts in that pile.
- Roll your spare pile out and do it all over! I don’t roll again after this for fear of over working the dough..I just accept I’ll have some funky looking muffins (that the spouse will eat immediately).
- Sprinkle the cut muffins with cornmeal, cover loosely with plastic wrap, and let them rise until puffy. If the dough is room temp, this will be about 45 minutes. If the dough has been refrigerated, this will be about 2 hours (and really, make sure they’re room temp as it will make your cook time more obvious). If you want to speed this up, put them in the oven, heat to 100F, and immediately turn it off.
- Carefully transfer muffins, as many as a time that will fit without touching, to a frying pan or griddle that has been preheated over “medium-low heat.” This is where shit gets nuanced. I’ve made these…dozens of times in the last 4 months and I’m still refining, but it honestly has everything to do with your stove. You want the pan to be warm enough to cook but not hot enough to burn the muffins. I tend to start at 5 for the first round, take it down to 4 after, and eventually get to 3.5 (with my relatively new Bosch induction stove).
- For muffins about 3” in diameter, cook them about 7 minutes on their first side. If yours are smaller, cook them for less on each side!
- Lay a cake pan, cookie sheet, or similar flat (though not overly heavy) object atop them to keep them from getting too big. I’ve found a 9” cake pan to work perfectly for my workflow.
- Continue cooking for 7 more minutes.
- Remove the weight-pan, turn the muffins over, and cook this side for 7 minutes.
- Remove the muffins, cool on a rack, and keep on trucking! If they seem like they’re getting too dark, adjust your temperature and/or cook time. If you want to make sure they’re at least done, stick a thermometer in the thickest one’s side and look for 190F.
- These freeze really well, so if you’re not eating them within the day, cool them completely and freeze!
Thoughts
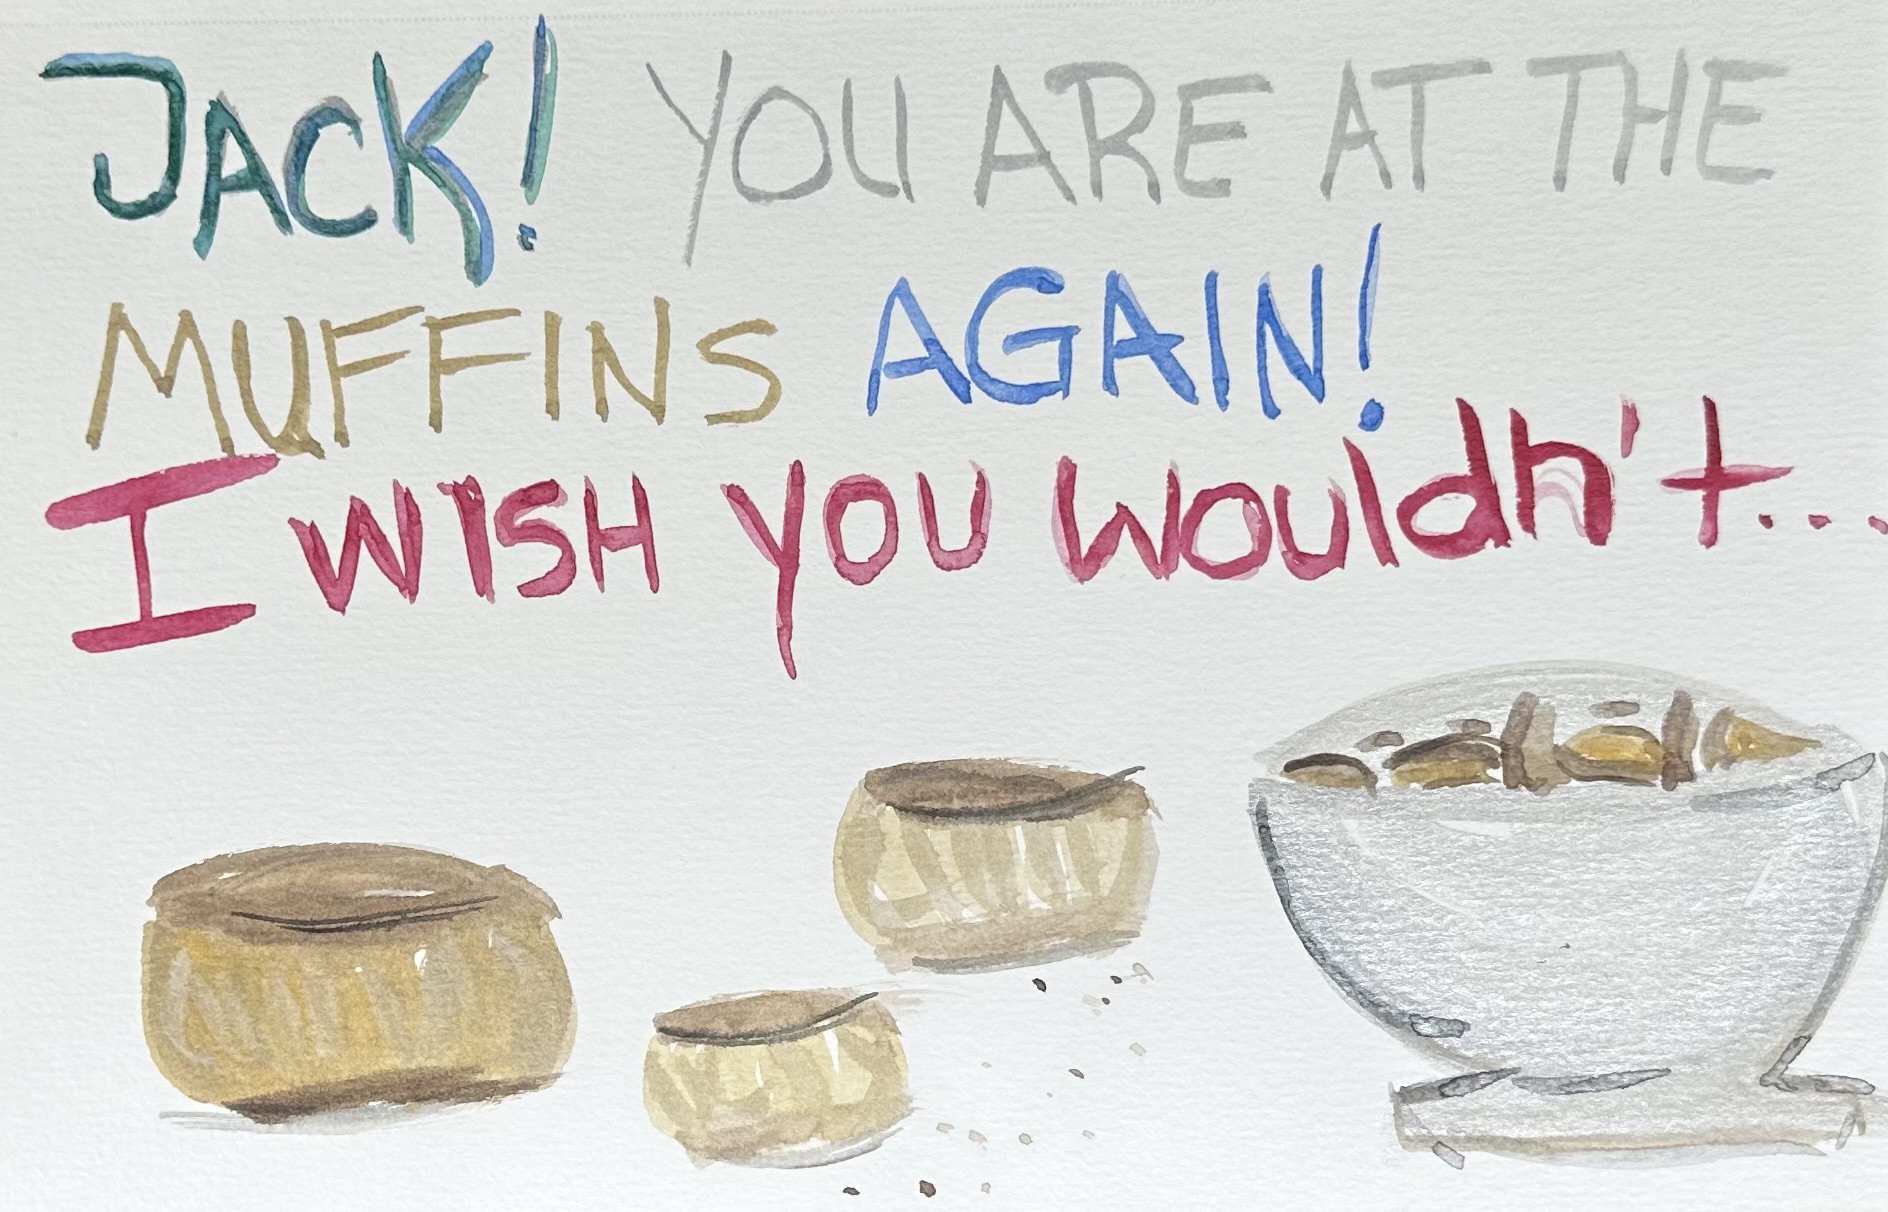
I don’t think I would have delved into the homemade English muffin world without being in The Importance of Being Earnest. Getting to be Algernon was a big life goal that I assumed wouldn’t happen. But it did! And I felt very strongly about having real food props on stage and consumed on stage. Cutting up store bought English muffins was fine in rehearsal but I wanted there to be a sense of reality to it. Also, I just wanted to see if I could make them so I did and I did it A LOT over these past few months, mostly making very small 1” ones with no yeast so I could efficiently eat them on stage. I could probably write at length about eating as Algernon but this isn’t the place.
Once the show was over I wanted to continue my newfound culinary journey because these fuckers are delicious and my neighbor and spouse really like them. It’s been very interesting to shift from making tiny ones to big fluffy ones. Perhaps obviously, the time they cook is different! It’s been a practice in ego and cooking skills to adapt. It’s taken me a long time to post this out of a perfectionist mindset - if I don’t know EXACTLY how long to cook them on each side, why do I think I should tell other people how to do it? But all cooking times vary wildly. They’re all just vague suggestions that mostly depend on your cooking instrument.