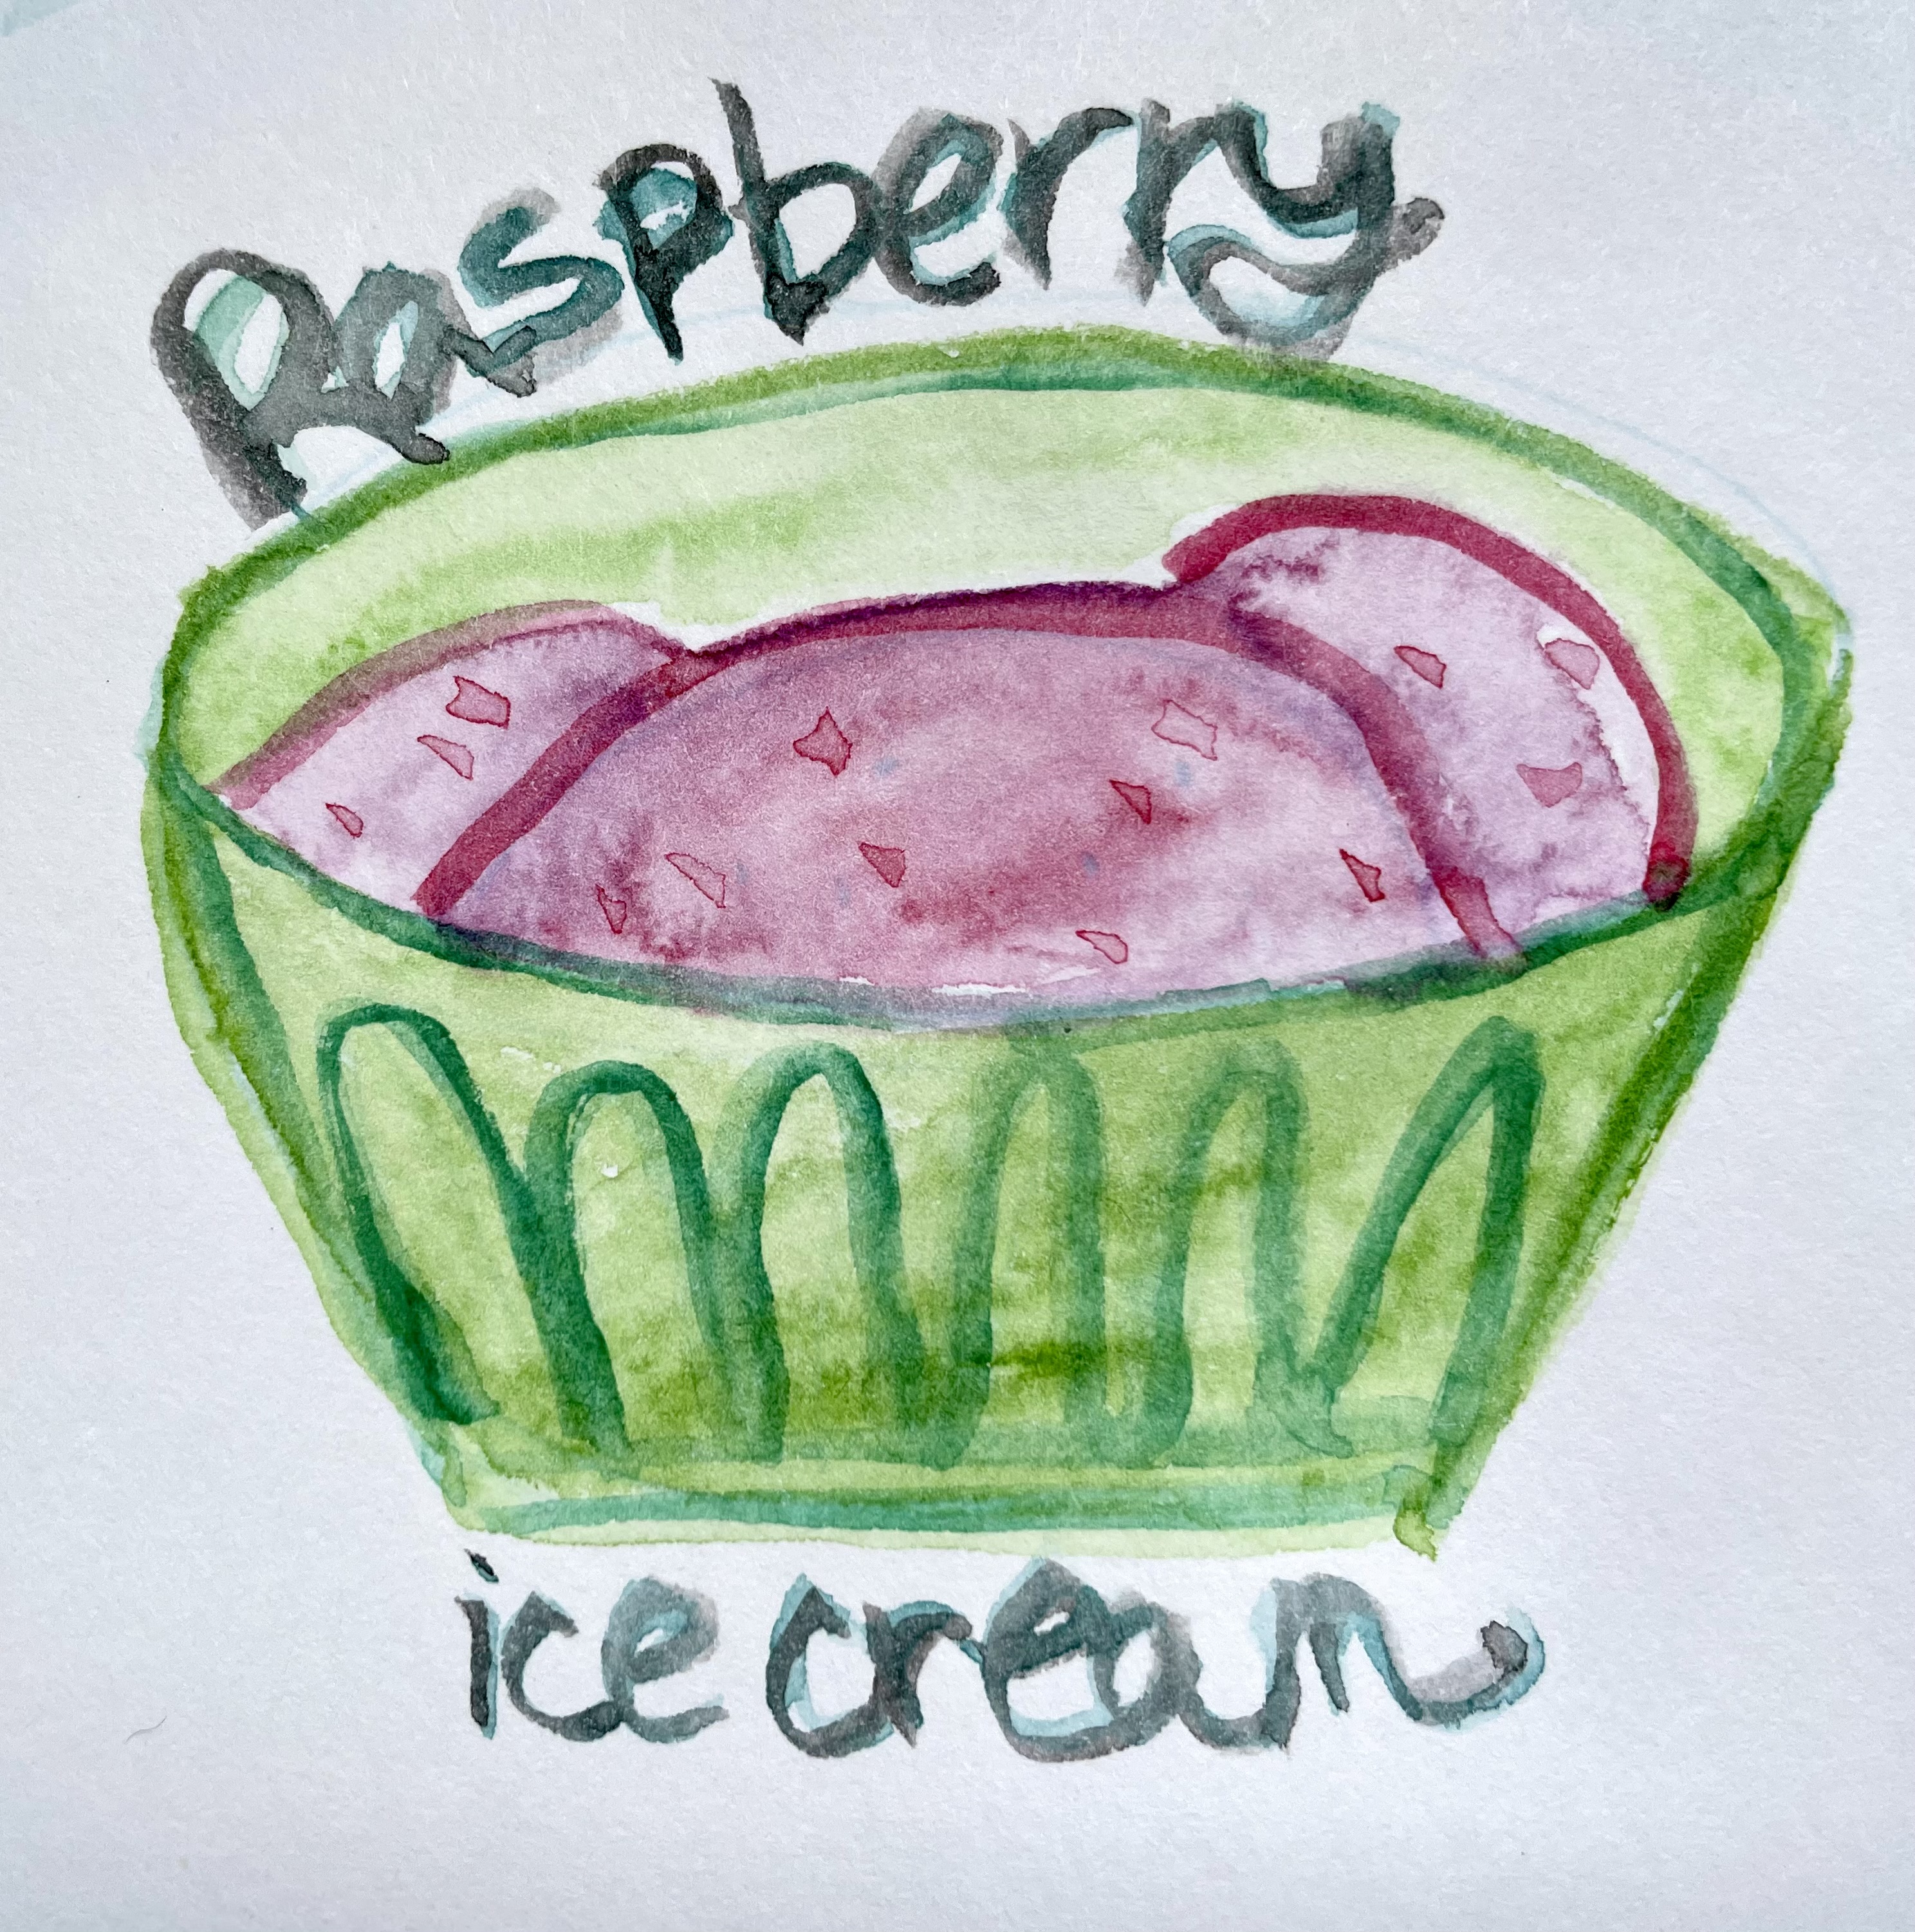
Raspberry Ice Cream
← Recipes
inspired by Ben & Jerry’s Homemade Ice Cream & Dessert Book, pages 28 & 39
Ingredients
- 7 oz. ripe raspberries (or more!), washed
- 2 eggs
- 3/4 cup sugar, preferably split in 1/4 cups
- slightly less than 1 cup milk
- slightly less than 2 cups heavy cream
- a dash of vanilla extract
Directions
- If your ice cream maker is one that has a thing that needs to be frozen first, make sure that’s totally frozen before starting the rest (I’m not talking about the wooden bucket with rock salt and a big motor thing, this works with something that sits on your counter. As an example, I use this Cuisinart one).
- Put the raspberries in a fine mesh sieve and sit a bowl under it that covers as much surface area as useful.
- Mash the raspberries through the sieve as well as you can with a big spoon or whatever works. The idea is to separate the seeds from the fruit. Be sure to wipe the bottom of the sieve into your bowl to get the full fruitiness. The end result should be a bunch of seeds in the sieve.
- Pour the raspberry puree in a small pot and reduce it on the stove over medium, stirring often. I don’t have an amount to work towards here, you just want it to be less watery. It may take 5-10 minutes.
- While this is going on, take a large bowl and whisk the eggs one at a time, about a minute a piece. You want them to be very aerated.
- Pour in 1/4 cup of sugar and whisk about a minute. Repeat this two more times so you have a grand total of 3/4 cup sugar in the egg mixture.
- Pour in the milk, heavy cream, and vanilla and whisk just to combine.
- Put this in the fridge.
- By now, the raspberries are probably done. Transfer them to another bowl (to help with cooling) and put this in the fridge.
- At least an hour after putting the raspberries in, check on their temperature. If they’re cold, move on to the next step.
- Set up your ice cream maker and get it going.
- Pour in the milk mixture then the puree.
- Let it do it’s thing for about 18-20 minutes. You’ll know it’s done when it’s been at least 18 minutes, it looks like soft serve, it’s coming out the top quite a bit, and you can tell the ice cream maker is working really hard.
- If you eat it immediately, this will be a soft serve type of thing. It’s delicious this way but if you want hard ice cream, just put it in a freezer-proof container (in the freezer) for a few hours.
Thoughts
Raspberries taste like sunshine. They’re just tart enough that, when added to milk, sugar, and eggs, you’ll levitate just a little bit. At least that’s what this ice cream made me feel like.
I’ve long loved raspberry ice cream, especially when it came in an otherworldly blue color (hello Blue Moon at Kilwins and the little blue ice cream squares that came in Swanson’s Fun Feast frozen meals in the 90s!). When faced with an onslaught of raspberries from my garden, making ice cream seemed like the thing to do.
I’ve been making ice cream since my aunt gifted me the aforementioned ice cream maker and Ben & Jerry’s cook book around 8 years ago. Usually when I’ve added a fruit, it’s made the ice cream maker overflow because I’d just throw them in whole near the end of the freezing process. It was the B&J cookbook’s recommendation to puree the raspberries that sparked something in me. Trey hates the seeds - why not push them through a sieve to puree and catch the the seeds? I had to get his help with the pureeing, as it did take some effort to get the raspberry goodness away from the seeds (and sometimes I can be a bit impatient). It seemed rather watery so he was the one to suggest we reduce it. Considering my previous experience with overflowing fruit ice cream, I decided to just slightly reduce the amount of cream and milk to make up for the extra liquid. I was beyond thrilled with the result of this. I can’t wait to make it again!